
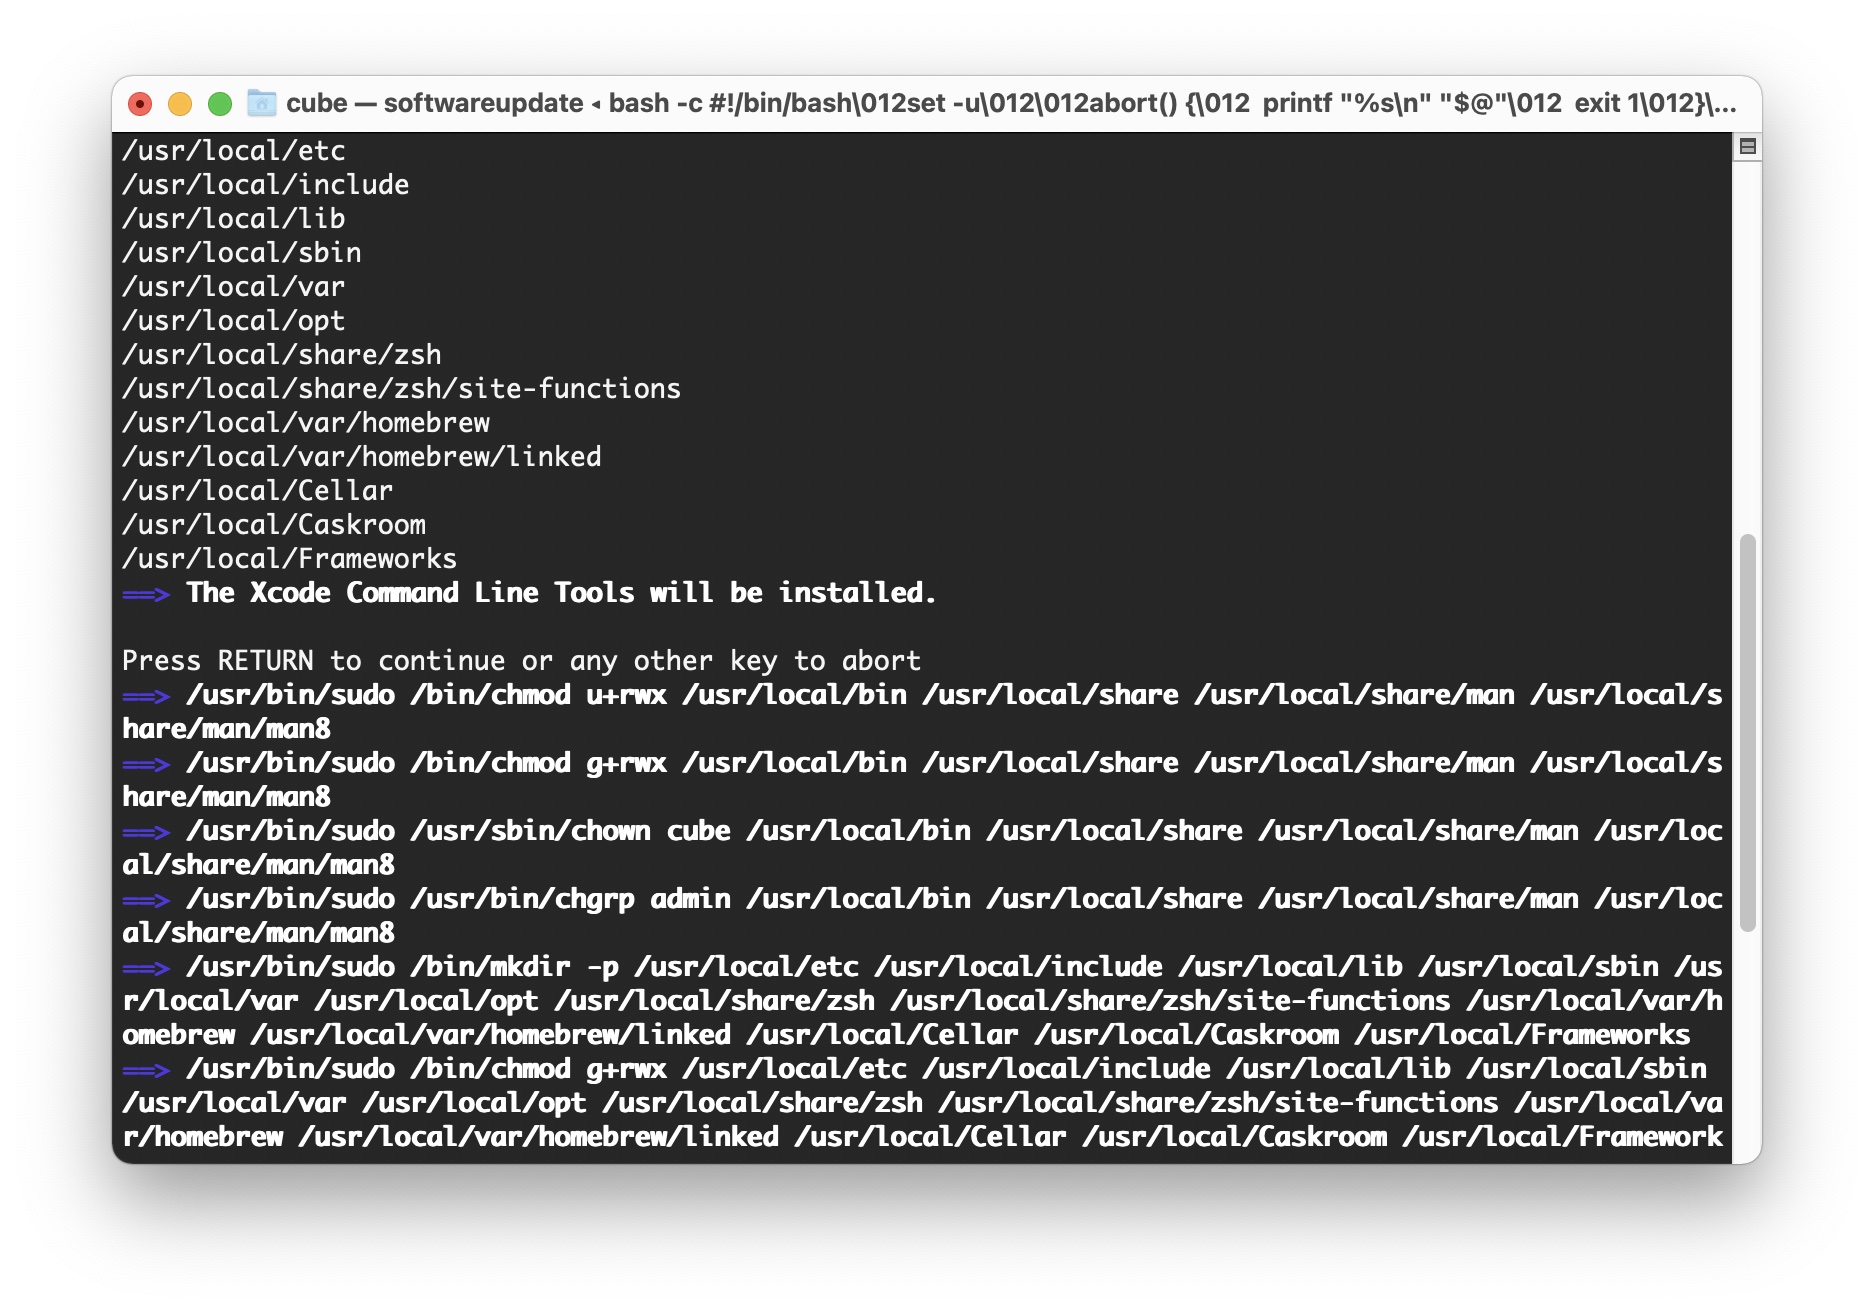
1.Homebrew 설치 링크에서 명령어 복사하여 터미널에서 설치: brew.sh/index_ko
bin/bash -c "$(curl -fsSL https://raw.githubusercontent.com/Homebrew/install/master/install.sh)"
- 확인 명령 : brew doctor
2.iTerm2 설치
- 홈페이지 : https://iterm2.com/downloads.html or brew cask install iterm2
- iTerm용 테마 설치 : https://iterm2colorschemes.com
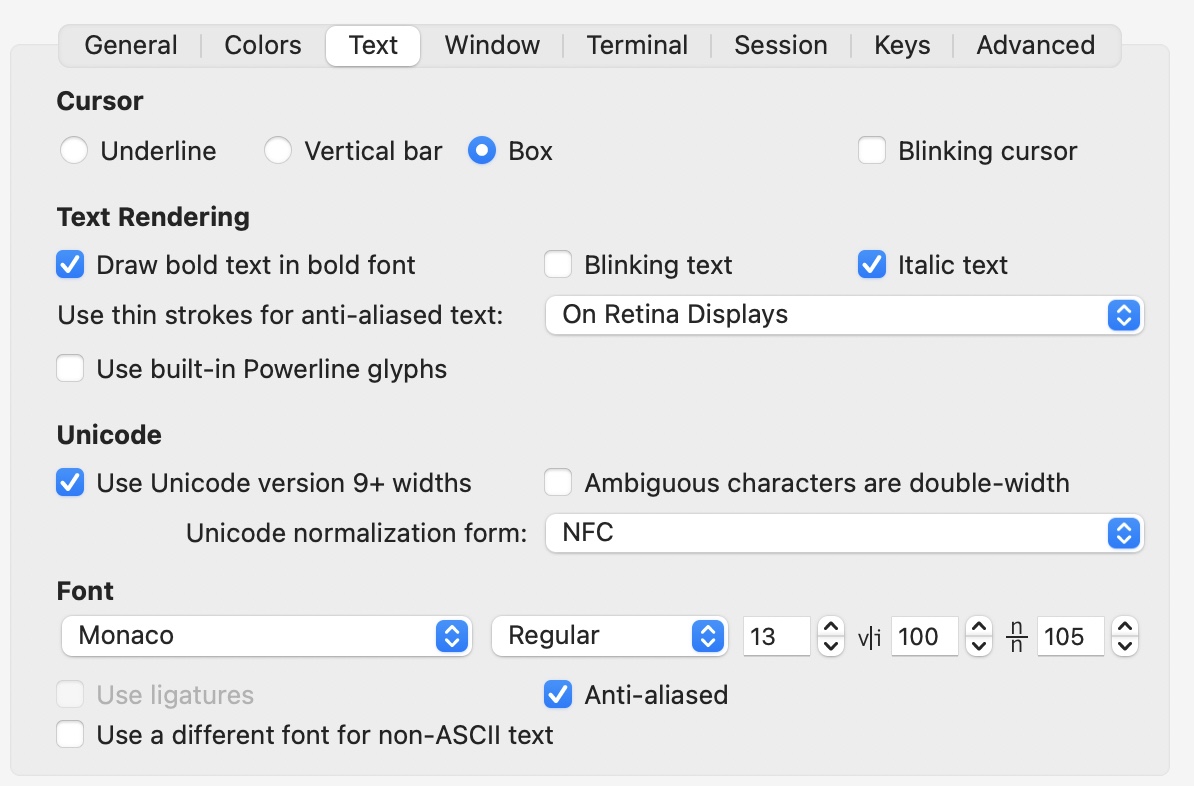
. iTerm의 Preferences 설정 화면에서,
. Preferences> Profiles> Colors의 Color Presets에서 다운로드한 테마로 변경 (shell 설정하면 확인 가능!)
. 한글파일 깨짐방지 및 기타 설정 : NFC 설정, 폰트 크기 설정 등
3.oh-my-zsh을 설치
- 기본 Shell인 zsh, Oh My ZSH은 zsh에 여러가지 플러그인 및 기능을 추가할 수 있는 프레임워크
sh -c "$(curl -fsSL https://raw.githubusercontent.com/robbyrussell/oh-my-zsh/master/tools/install.sh)"
- oh-my-zsh 설치 후 /usr/local/share/zsh와 /usr/local/share/zsh/site-functions의 권한 문제가 발생할 수 있음을 나타내는 안내문이 출력됩니다. 몇가지 해결방법이 있지만 안내문에서 제공하는 아래 명령어로 처리
기본 터미널에서 실행하세요.
compaudit | xargs chmod g-w,o-w
4. Zsh 플러그인 설치
- 명령어 하이라이팅: zsh-syntax-highlighting 설치
~/.zshrc 파일을 열어 plugin안에 zsh-syntax-highlighting를 추가brew install zsh-syntax-highlighting
or
git clone https://github.com/zsh-users/zsh-syntax-highlighting.git ${ZSH_CUSTOM:-~/.oh-my-zsh/custom}/plugins/zsh-syntax-highlighting
- 자동완성 : zsh-autosuggestions 설치
~/.zshrc 파일의 plugin에 zsh-autosuggestions를 추가
brew install zsh-autosuggestions
or
git clone https://github.com/zsh-users/zsh-autosuggestions ${ZSH_CUSTOM:-~/.oh-my-zsh/custom}/plugins/zsh-autosuggestions
- 설정 추가: zsh-syntax-highlighting, zsh-autosuggestions 추가
(명령어: vi ~/.zshrc)
plugins=(
git
zsh-syntax-highlighting
zsh-autosuggestions
)
- zsh-completions (option): 더 많은 자동 완성 확장
- fasd (option): command-line productivity booster, 자주 액세스 하는 set에 대한 자동완성 제공
. formulae.brew.sh/formula/zsh-completions 참조
brew install zsh-completions
brew install fasd

~/.zshrc 파일의 plugin에 fasd 추가
- 수정후 터미널 재시작 혹은 source ~/.zshrc 명려어로 재시작한다.
5.oh-my-zsh 테마 변경 및 설정 Tip
- 참조: https://github.com/ohmyzsh/ohmyzsh/wiki/Themes
- 원하는 테마를 설치한 이후,
. ~/.zshrc 파일에서 ZSH_THEME="robbyrussell" 부분을 설치한 테마이름으로 변경한다.
. 예) ZSH_THEME="agnoster"
- agnoster 테마 설치후, 폰트 깨짐 해결 방법
. powerline 폰트 설치: github.com/powerline/fonts 에서 'UbuntuMono' 폰트 설치 후,
. iTerm2 > Preferences > Profiles > Font → Ubuntu Mono derivative Powerline 으로 변경해준다.
. "Naver D2" ( github.com/naver/d2codingfont ) 폰트도 권장...
- user 이름 변경
. agnoster 테마를 적용했을 때 user@hostname이 길게 뜨는 게 불편하다면,
~/.zshrc 파일에 USER=``를 추가해주시면 됩니다.
. 사용자 이름만 남기기 : ~/.zshrc 파일에 하단에 아래 내용 추가
prompt_context() {
if [[ "$USER" != "$DEFAULT_USER" || -n "$SSH_CLIENT" ]]; then
prompt_segment black default "%(!.%{%F{yellow}%}.)$USER"
fi
}
- 터미널 최상단 메세지 제거
. 터미널 열고 루트에 위에서, touch .hushlogin 파일 생성
- 단축키 등록
. ~/.zshrc 파일에 alias 명령어 = "실제 사용할 명령어" 등록
. 예) alias ls="ls -al"
==> 추천,
- Powerlevel10k 테마 설치 참조 : github.com/romkatv/powerlevel10k
~/.zshrc 파일에 ZSH_THEME="powerlevel10k/powerlevel10k" 수정
- 설치후 옵션 다시 설정: p10k configure
git clone --depth=1 https://github.com/romkatv/powerlevel10k.git ${ZSH_CUSTOM:-~/.oh-my-zsh/custom}/themes/powerlevel10k
< 참조 >
subicura.com/2017/11/22/mac-os-development-environment-setup.html
www.sangkon.com/osx-setting-for-developer/
'1. SW개발 & IT트렌드' 카테고리의 다른 글
| Raspberry Pi - The MagPi issue 105 (0) | 2021.05.22 |
|---|---|
| Ventoy 1.0.43 release (21.05.08) (0) | 2021.05.09 |
| [맥 Mac 개발 환경] ML 개발 환경 설정 (3) | 2021.05.03 |
| [맥 Mac 개발 환경] C/C++ 개발 환경 설정 (0) | 2021.05.03 |
| Vertical 서비스 데모룸 (0) | 2021.05.02 |


댓글